What is iOS Snapchat?
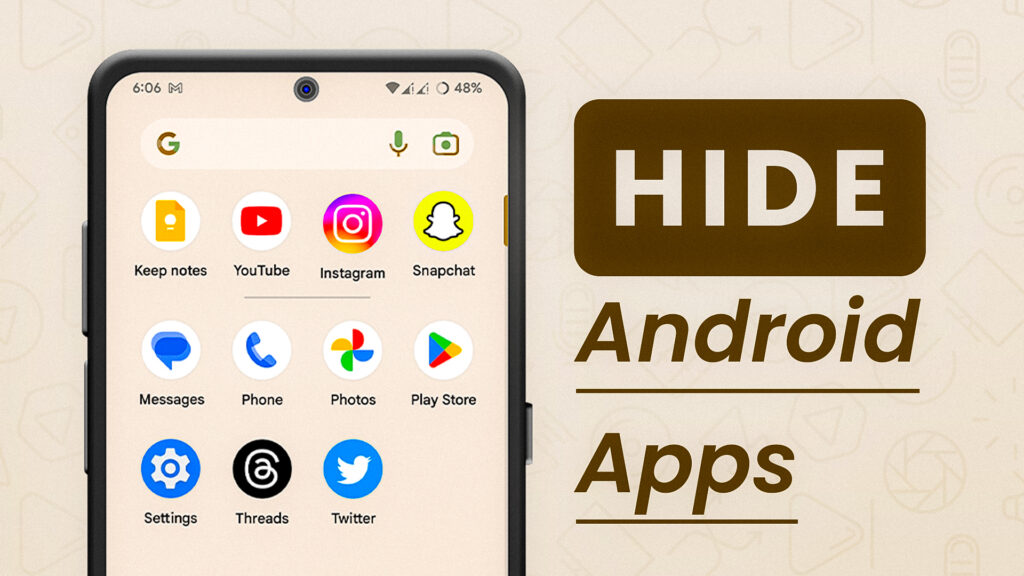
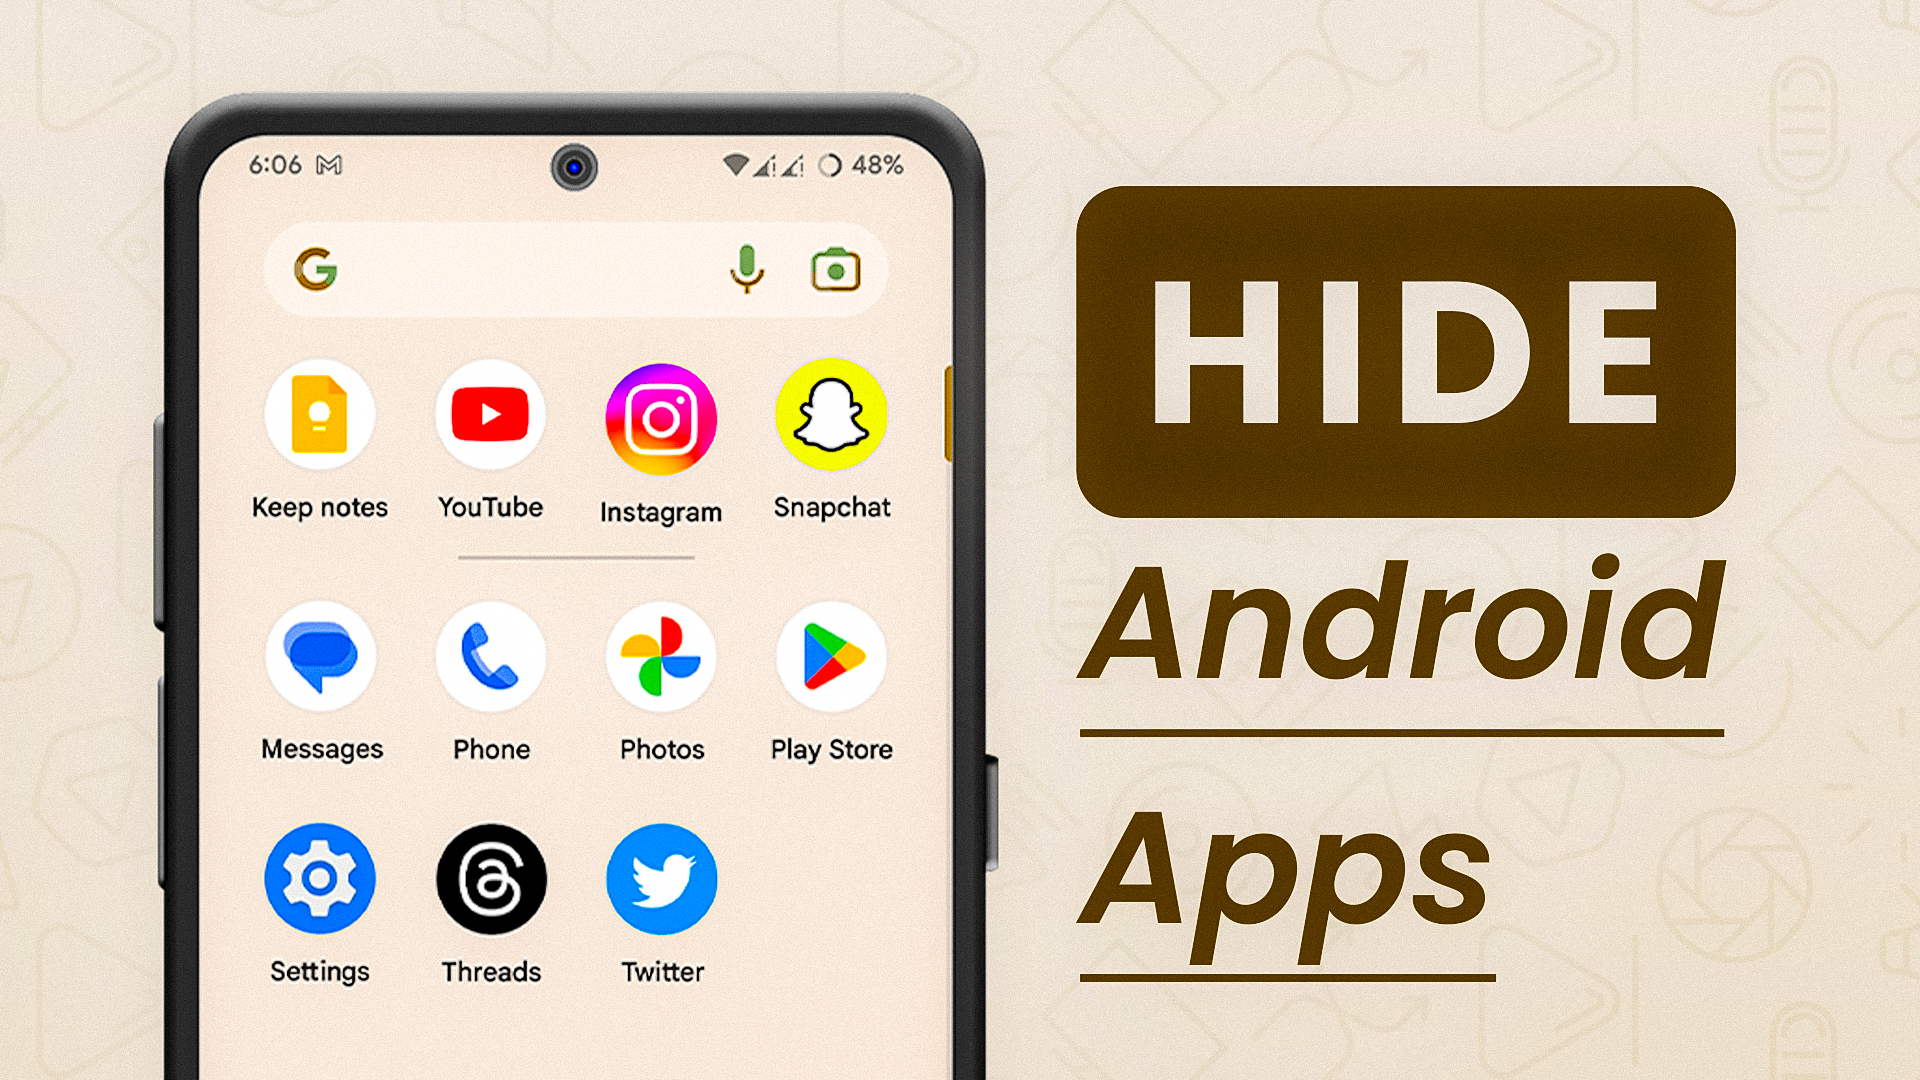
Hide Apps In Android Without ROOT- Tired of a cluttered phone with unnecessary pre-installed system default apps? Learn how to make your phone clean and organized by effectively hiding those apps without any rooting hassles. In this blog post, we’ll guide you through simple yet effective methods to reclaim your device’s screen space, giving you a cleaner and more personalized Android experience. Say goodbye to unwanted distractions and enjoy a streamlined phone that truly reflects your preferences.

Enable Developer Mode
Enabling Developer Mode in Android is a straightforward process, but please note that the exact steps may vary slightly depending on your Android version and device model. Generally, you can follow these steps to enable Developer Mode:
- Open the Settings app: Locate the “Settings” app on your Android device. It’s usually represented by a gear icon and can be found either on the home screen or in the app drawer.
- Navigate to “About Phone” or “About Device”: Once you’re in the Settings, scroll down to find the section that is typically labeled as “About Phone” or “About Device.” Tap on it to access more device-related information.
- Find the “Build Number”: In the “About Phone” or “About Device” section, look for an entry named “Build Number” or “Software Information.” The exact location might vary, but it’s usually under the “Software” or “System” subsection.
- Tap the “Build Number”: Continuously tap on the “Build Number” entry seven times. You will see a message like “You are now a developer!” or a prompt to enter your device’s unlock code or PIN to confirm.
- Developer Options: After successfully tapping the “Build Number” seven times, the Developer Options should now be unlocked and available in the main Settings menu.
- Access Developer Options: Go back to the main Settings menu, and you should see a new entry called “Developer Options.” Tap on it to access a list of advanced developer settings.
- Enable Developer Mode: To enable Developer Mode, simply toggle the switch at the top of the screen to “ON.”
Enable Wireless Debugging:
- First, you need to enable Developer Options on your Android device. Search the web for instructions on how to enable Developer Options for your specific device model.
- Once Developer Options are available, go to Settings > Developer Options.
- Enable “USB Debugging” and then find the “Wireless debugging” option.
- Tap on “Wireless debugging” to enable it.
Start Shizuku:
- After successful pairing, start the Shizuku server by tapping “Start Shizuku” in the app.
- If for any reason it does not start, try disabling and then enabling wireless debugging once again.
- If needed, initiate the pairing process again from the Shizuku app.
Use Amarok App:
- Install Amarok App.
- Give it required Storage Permission.
- Open More Settings > Switch app-hiding mode > Choose Shizuku. And go back to main page.
- Here Open “Set hidden Apps”.
- Now choose the apps that you wants to hide.
Video Tutorial:
Here’s step-by-step visuals to make the learning process easier.
Download Links:
Shizuku App – Used to allow root access without root.
- Shizuku: Download
Amarok App – Used to Hide Apps, this app requires Shizuku Permissions.
- Amarok: Download
f droid – Used to install Amarok App.
- f droid: Download
Thoughts:
In conclusion, this method offers a non-root solution to clean up your Android phone’s app drawer, making it clutter-free and organized. While it may seem a bit complicated initially, the ease of use and enhanced privacy achieved through Shizuku’s permission management and Amarok’s App Hide option make it a worthwhile endeavor. By selectively hiding apps, you can create a personalized and streamlined Android experience, without the need for risky rooting procedures. Embrace this straightforward process to regain control over your device and enjoy a more efficient, clean, and secure app drawer.

