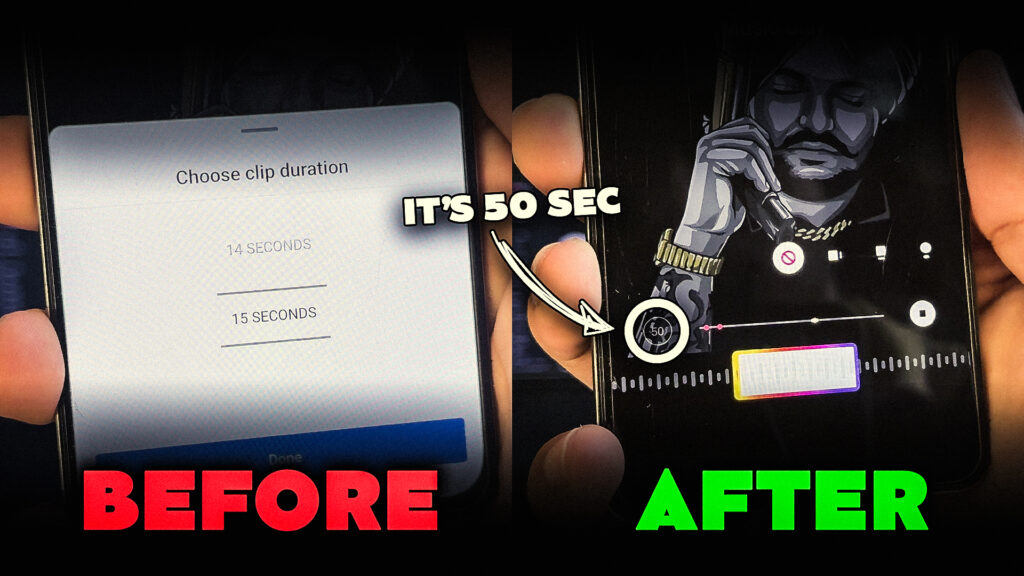
Introduction – Use Long Audio in Instagram Stories
Hey everyone, it’s Dhiman here, and in this blog post, I’ll walk you through a simple method to use long audio in Instagram Stories. This technique works on both Android and iOS devices, and as a bonus, I’ll share a shortcut method that can save you even more time. Let’s dive in!
The Instagram Audio Limit
As of now, Instagram allows audio clips of up to 15 seconds in Stories. However, if you want to post longer audio (say 30, 45, or even 60 seconds), you’ll need to bypass this limitation. The good news? There’s an easy way to do this using an app.

Step 1: Install the VITA App
The first thing you need to do is install a third-party app called VITA. This is a powerful video editing app available on both the Google Play Store and Apple App Store.
Open your App Store or Play Store, search for VITA, and hit install.
While it’s installing, listen to the audio clip you want to post on Instagram and make a note of its duration.
Step 2: Prepare Your Video in VITA
Once VITA is installed, follow these steps:
- Open the app and grant the necessary permissions.
- Navigate to Settings and disable the watermark option (this will ensure your video doesn’t have any unwanted branding).
- Create a new project and select the image you want to post with the audio.
- In the timeline, select the image and drag its end point to extend its duration to match the length of your audio. For example, if your audio is 49 seconds, drag the image so the project is 49 seconds long.
- Export the video. Keep in mind that the exported video might be of lower quality.
Step 3: Post the Video to Instagram in Full Quality
To avoid posting a low-quality video, here’s a quick workaround:
- Open Instagram Stories and select the long video you exported from VITA.
- Go to the stickers tab and choose the Photo Sticker.
- Select the image you originally wanted to post, which will appear with rounded corners. Tap the image once to remove the corners, and then resize it to fill the screen.
Step 4: Add Music to Your Instagram Story
Once the video is in place, it’s time to add music:
- Open the Music option and search for the song you want to use.
- Adjust the song’s duration to match the video (for example, 49 seconds).
- Use the timeline to select the specific part of the song you want to feature.
- Hit Done, and your story is ready to post!
Bonus: The Shortcut Method for Long Audio
If you’re looking for a quicker method, I’ve got you covered. Below, you’ll find a link to a blog where you can download a 60-second blank video file. You can use this video as a base to post any audio clip up to 60 seconds long on Instagram.
Here’s how it works:
- Download the 60-second blank video.
- Open the video in your phone’s editing app and trim it to match your audio’s length. For instance, if you want to use a 41-second audio clip, simply trim the blank video to 41 seconds.
- Go back to Instagram and follow the same steps outlined earlier to create your story.
- Add the audio, select the desired segment, and post it.
Video Tutorial:
Here’s step-by-step visuals to make the learning process easier.
Final Thoughts
And that’s it! You’ve successfully posted a long audio clip on Instagram Stories without any hassle. Whether you’re using the VITA method or the shortcut, these steps will help you work around Instagram’s 15-second limit.
If you found this tutorial helpful, feel free to drop a comment below, and don’t forget to subscribe to my channel for more tips and tricks. See you in the next post!

